How To Cut Individual Stickers On Cricut
We start with the designing process and then move on to using the Cricut Design Space. Change the squares size to 625 X 975.

Free Thank You Stickers Png With Print And Cut Tutorial Gina C Creates
Dont know if this is the right place to post this if it isnt I apologize but I need some help.
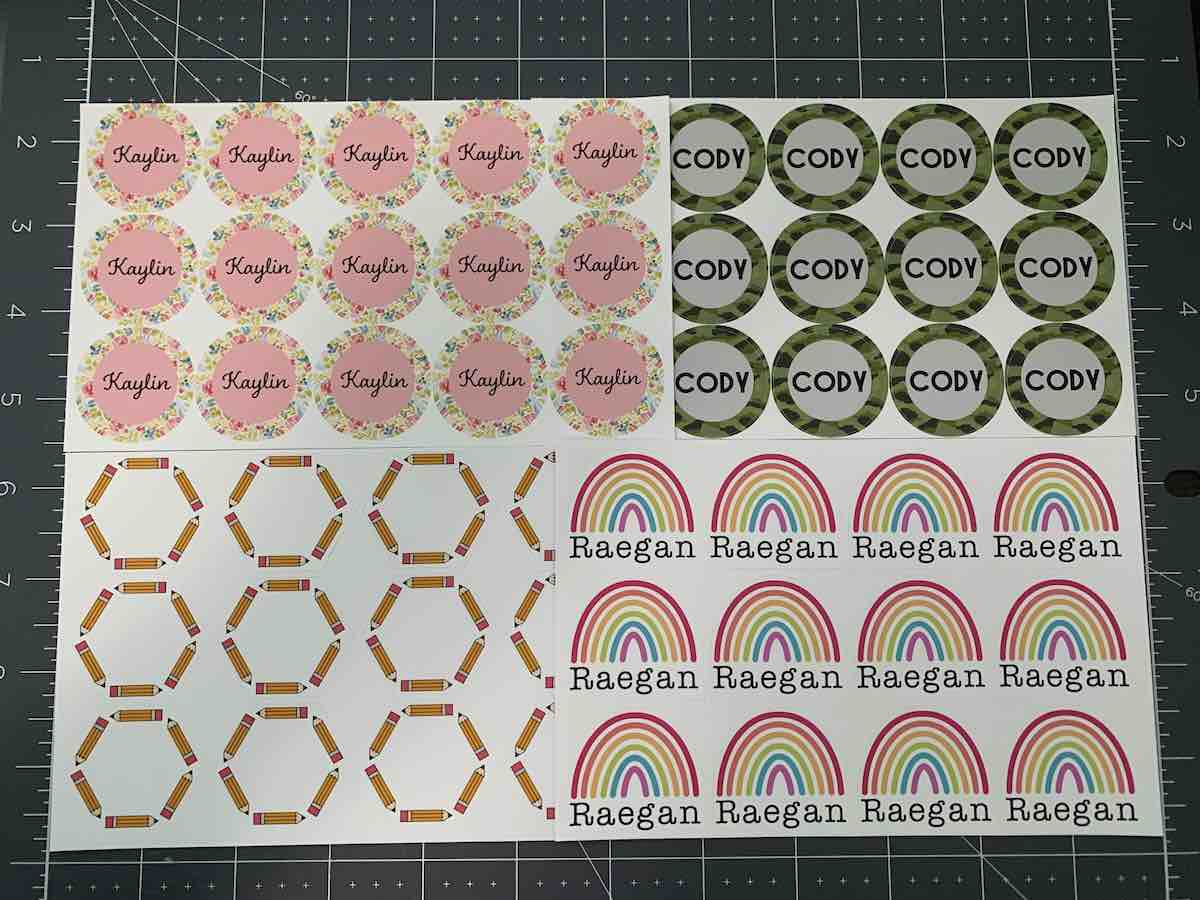
How to cut individual stickers on cricut. After it scans everything it will start cutting. Enter a 2 in the width box and hit enter. Twelve two-inch stickers will fit on a 85 x 11 sticker sheet.
Load your mat into your Cricut by pressing the load button. I made my cut lines with a bright blue fill so theyre easier to see you can make them any color you like. Then select your flashing Cricut button.
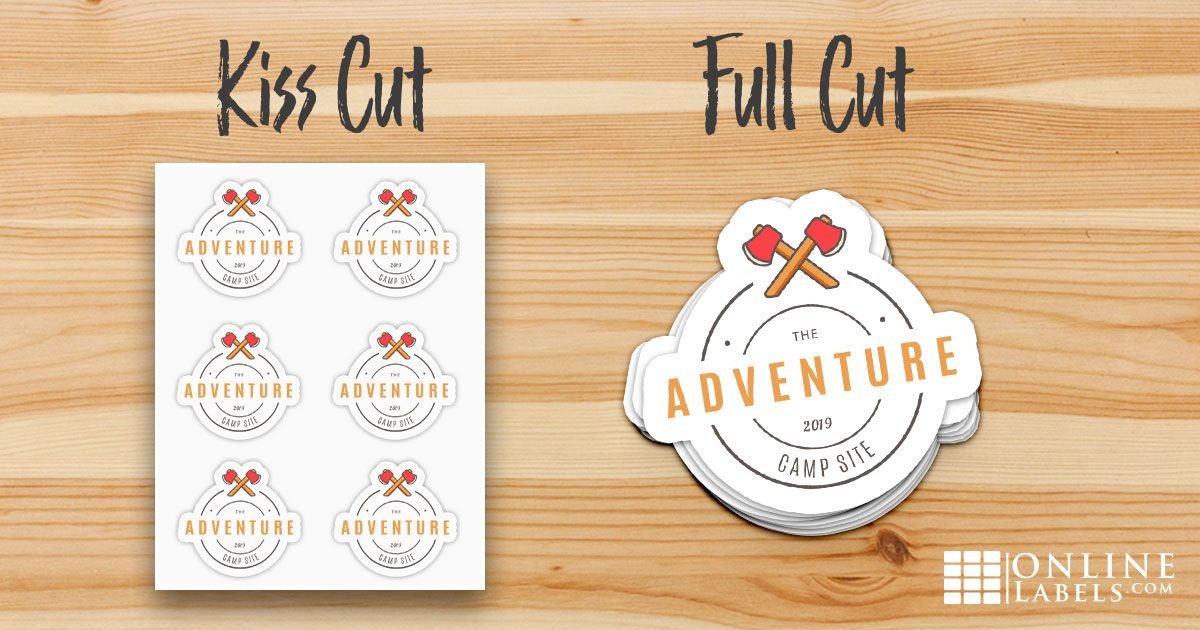
Ive designed some sticker sheets for my shop and want kiss cut stickers but every time I try cutting them the setting I use on my cricut either cuts all the way through the backing of the sticker paper or it just starts to cut through the backing which means some of the stickers get parts cut. Setting the width to two inches will automatically change the height to two inches. Once the C go button is flashing go ahead and hit it to begin your cut.
HttpsyoutubeN8Up6ePlhu0 Check out my video on how to deal with. If you added a background or border around your image Cricut will automatically know to cut around this. To maximize the amount of stickers you cut click on Insert Shapes in the left menu and insert a square.
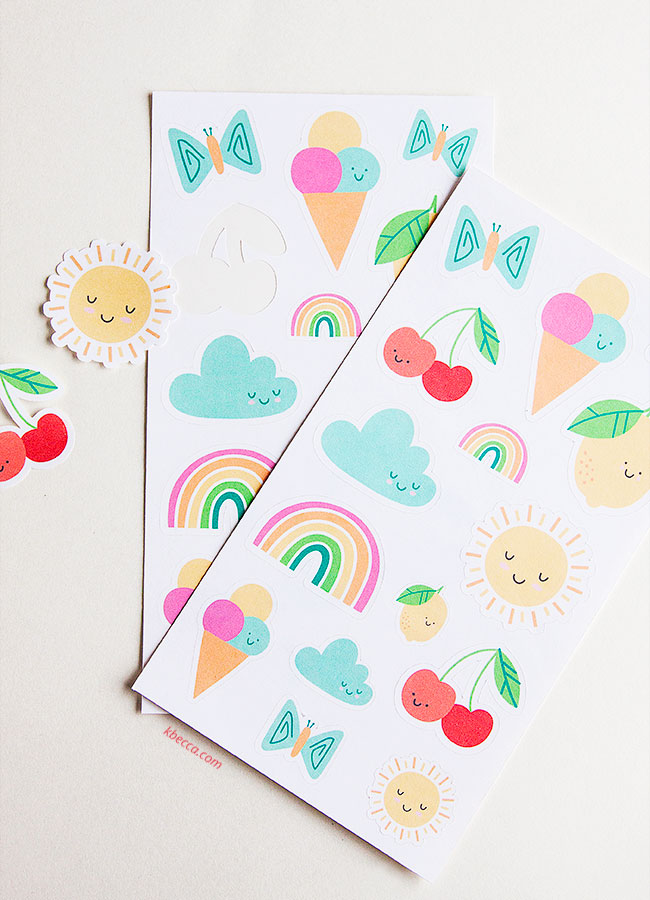
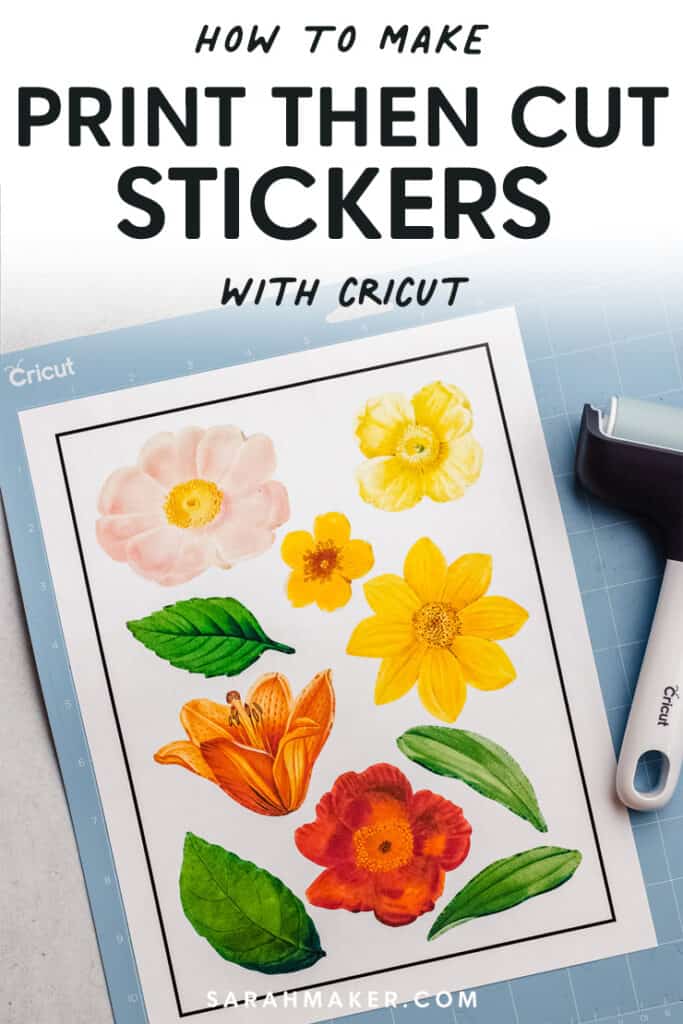
Your Cricut is going to start scanning your paper to determine where it should cut. Today I am showing you from start to finish how I make my stickers. There are many other ways to do this you may have a different method that you prefer.
If you dont add a background or image Cricut will cut around each individual image. It uses the black lines to determine where it should cut your stickers. How To Make Stickers With CricutCheck out my video on how to do this with free software.
I create a new layer below the sticker artwork. Click on the Arrange tool in the top menu bar and send the rectangle to the back. In this video I show you the process I go through to make kiss cut and die cut stickers on the same sheet using Cricut Design Space and the Print then cut me.
Remember home printers dont print white and so the shape itself will cut but not print. Click on the three lines beside canvas at the very top left corner. Then click on settings.
Then I used the Blob Brush Shift B In Illustrator to make my cut lines around my stickers. And then click done. Unlock the squares proportions by clicking on the little lock on the size menu at the top.
To set your software up to metric you do the following. Youll want to make sure you have good lighting in your room so that the Cricut machine can easily see the registration lines.

How To Make Stickers With Cricut Print Then Cut Youtube
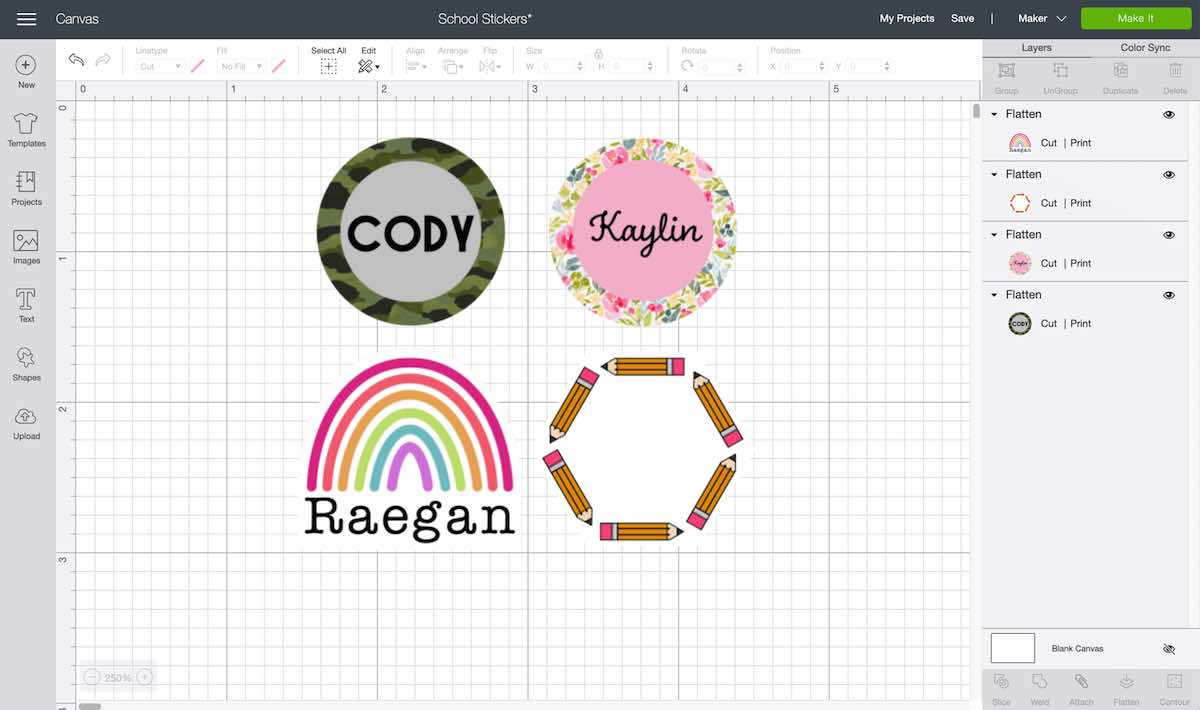
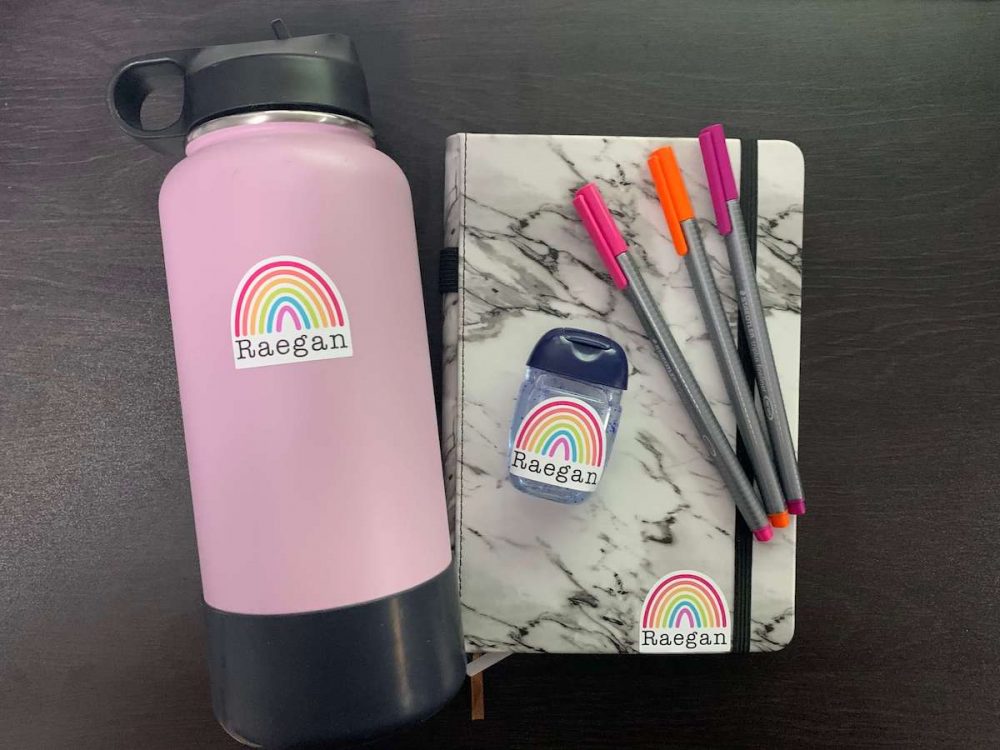
How To Create Personalized Stickers For Back To School Cricut
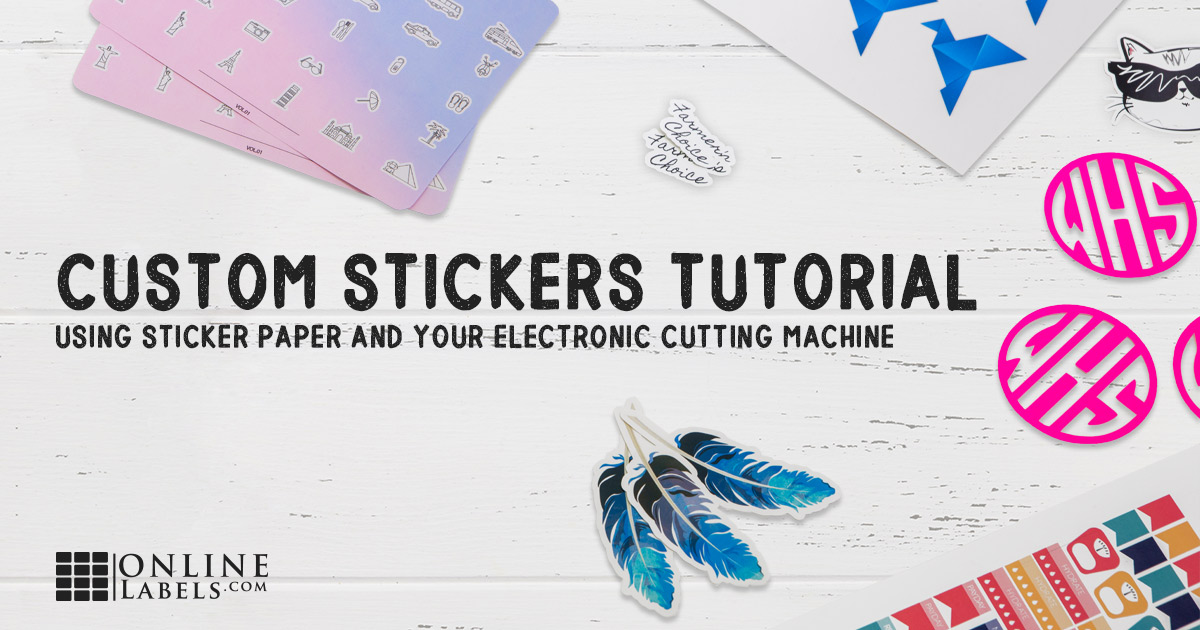
How To Make Custom Stickers Using Your Electronic Cutting Machine Sticker Paper
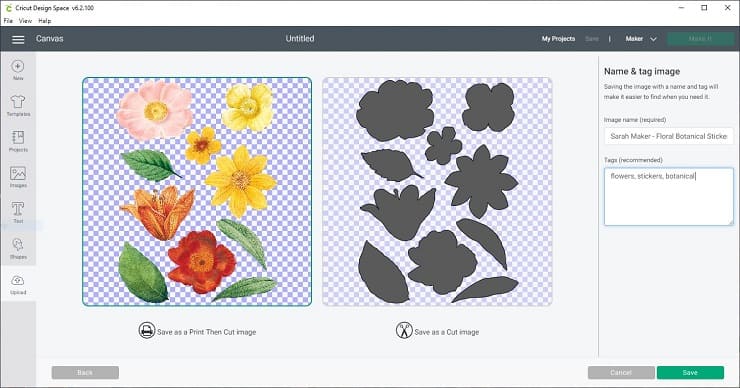
How To Make Stickers With Cricut Print Then Cut Sarah Maker
How To Make Custom Stickers Using Your Electronic Cutting Machine Sticker Paper
How To Make Kiss Cut Sticker Sheets With Silhouette Cameo Video
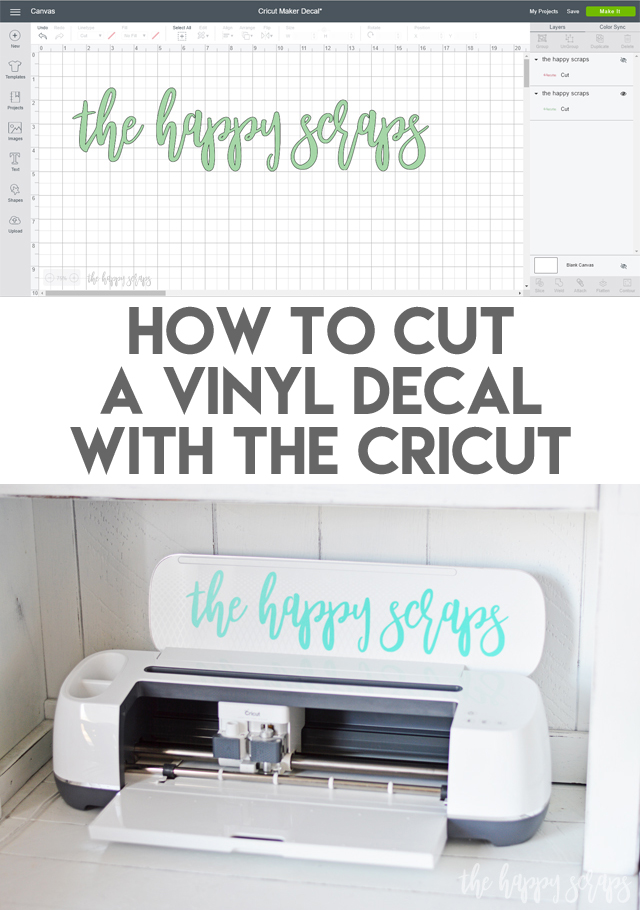
How To Cut A Vinyl Decal With The Cricut The Happy Scraps

How To Make Diy Planner Stickers With Your Cricut Step By Step
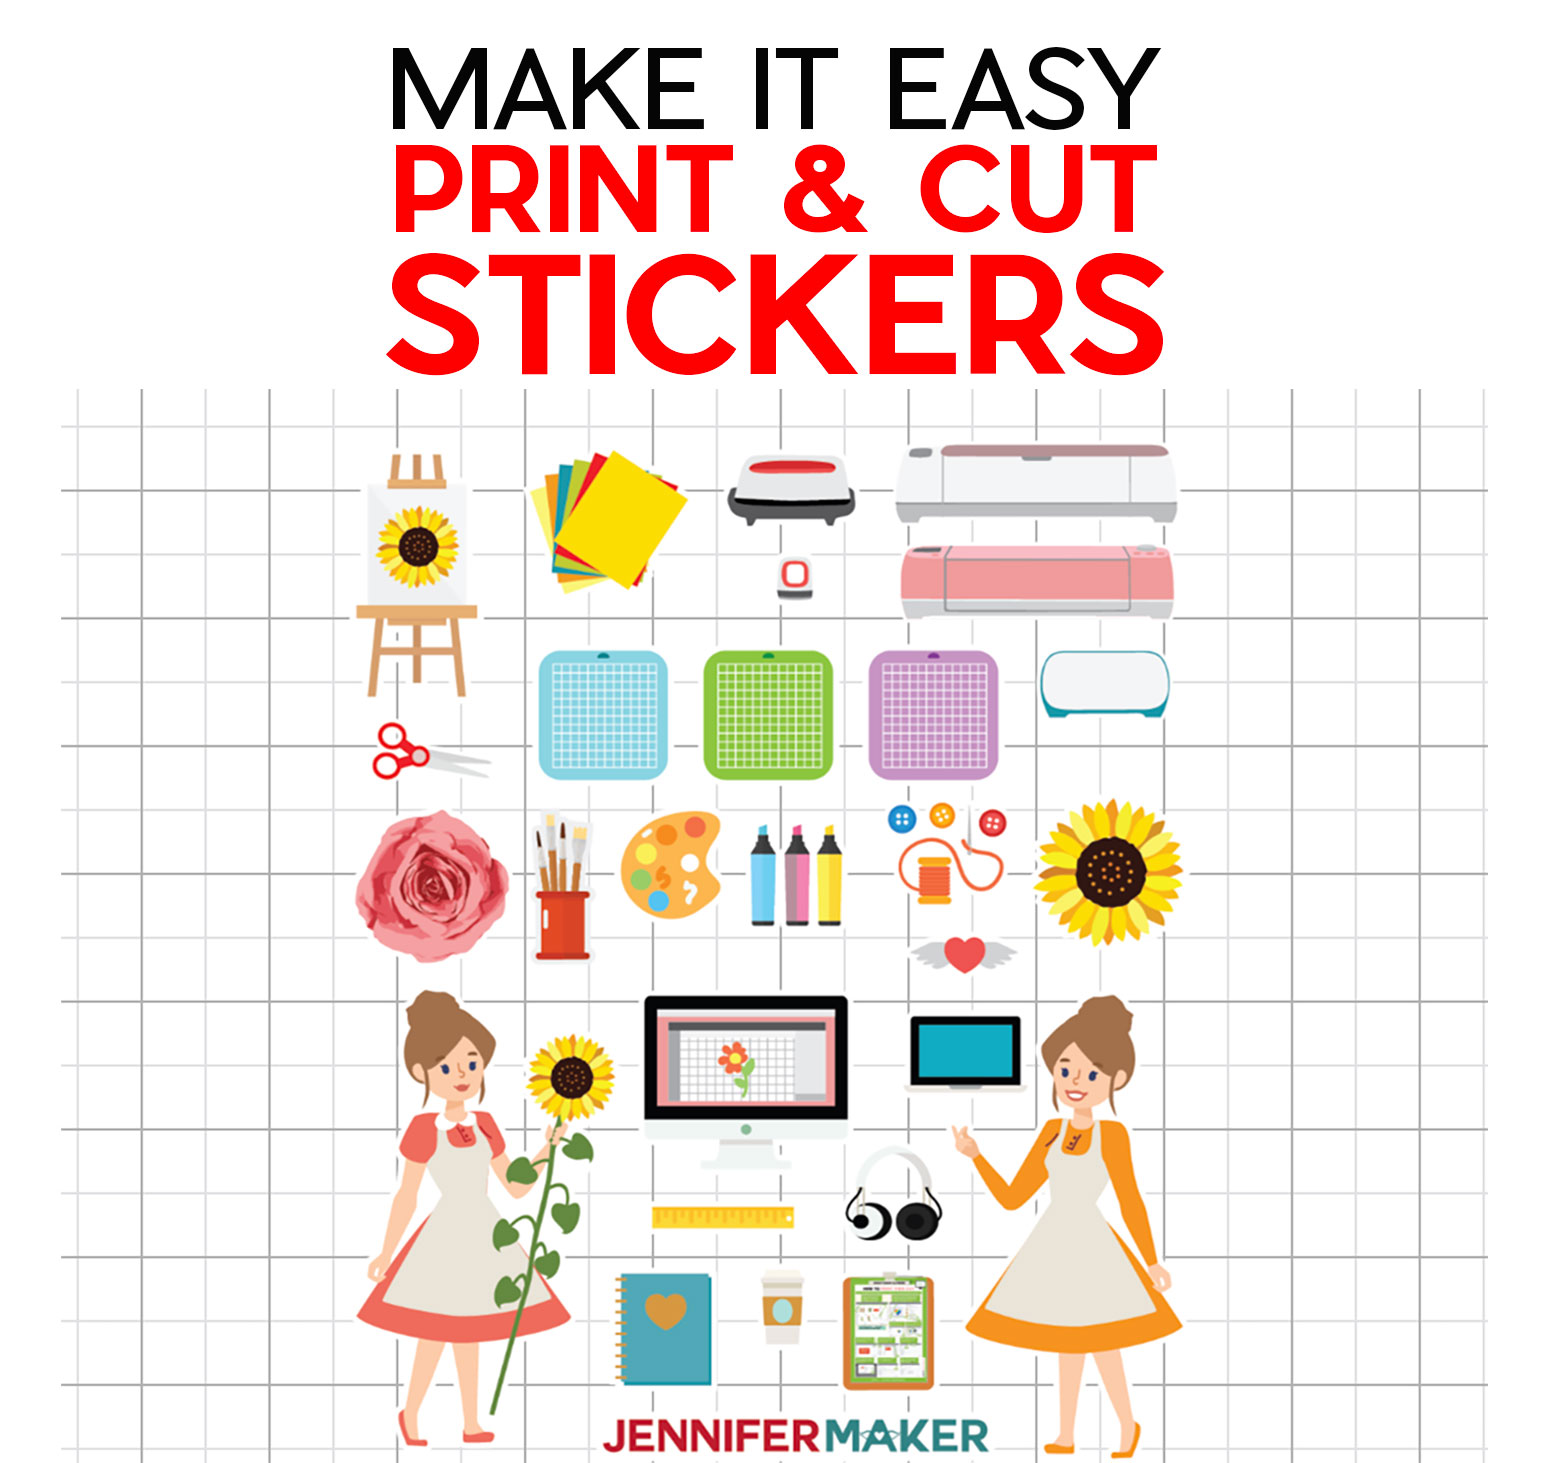
Easy Print Cut Stickers On A Cricut Jennifer Maker

How To Make Die Cut Stickers By Hand Or With Cricut Youtube
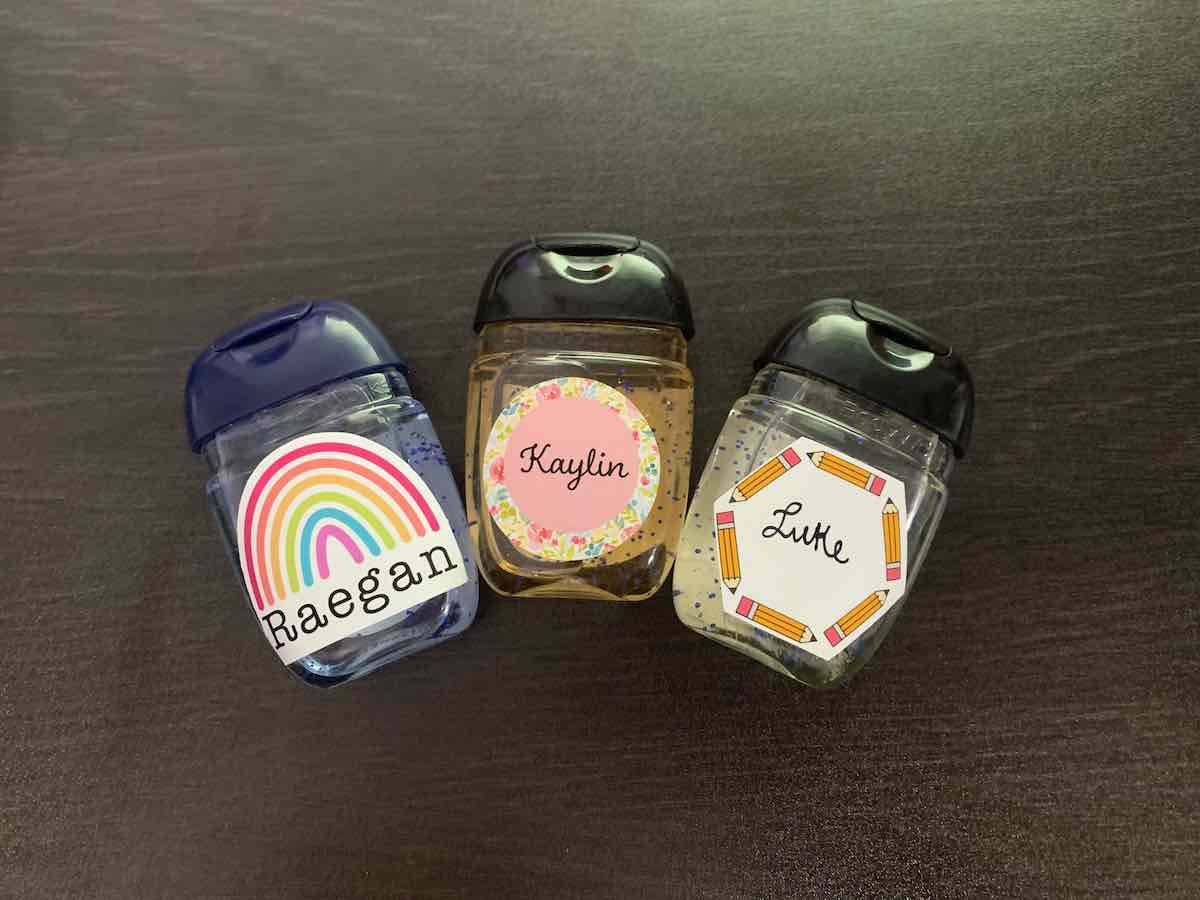
How To Create Personalized Stickers For Back To School Cricut

Five Sixteenths Blog Tips For Cricut Explore Print Then Cut Making Stickers

How To Print Then Cut Printable Stickers On Your Cricut An Illustrated Guide Stick Plan
How To Make Stickers With Cricut Print Then Cut Sarah Maker

How To Print Cut Stickers With Cricut Well Crafted Studio
How To Create Personalized Stickers For Back To School Cricut
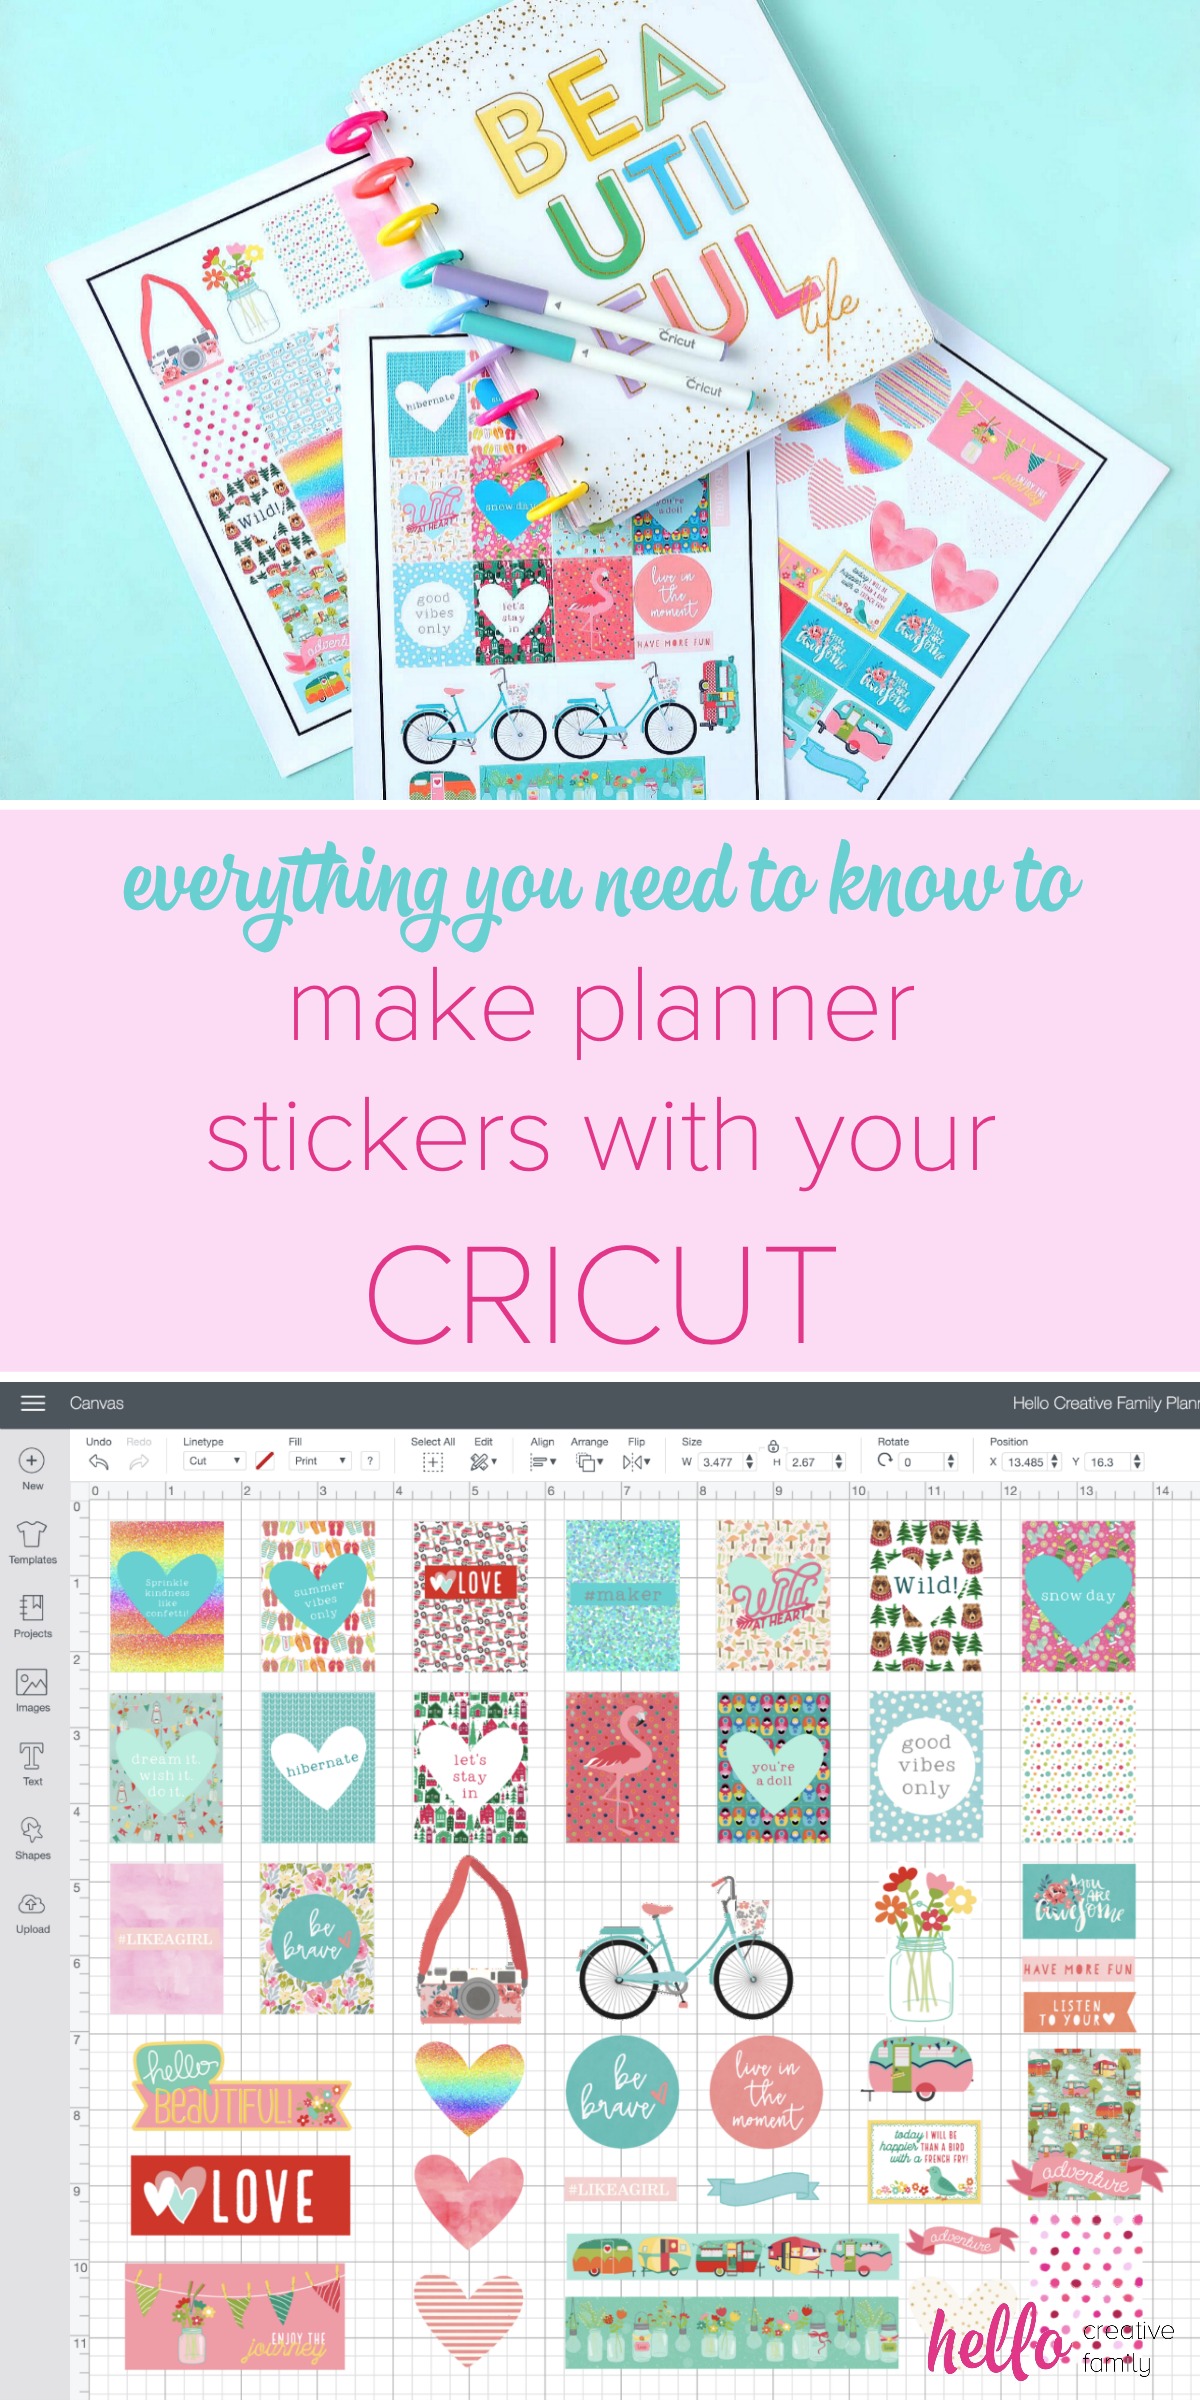
How To Make Diy Planner Stickers With Your Cricut Step By Step
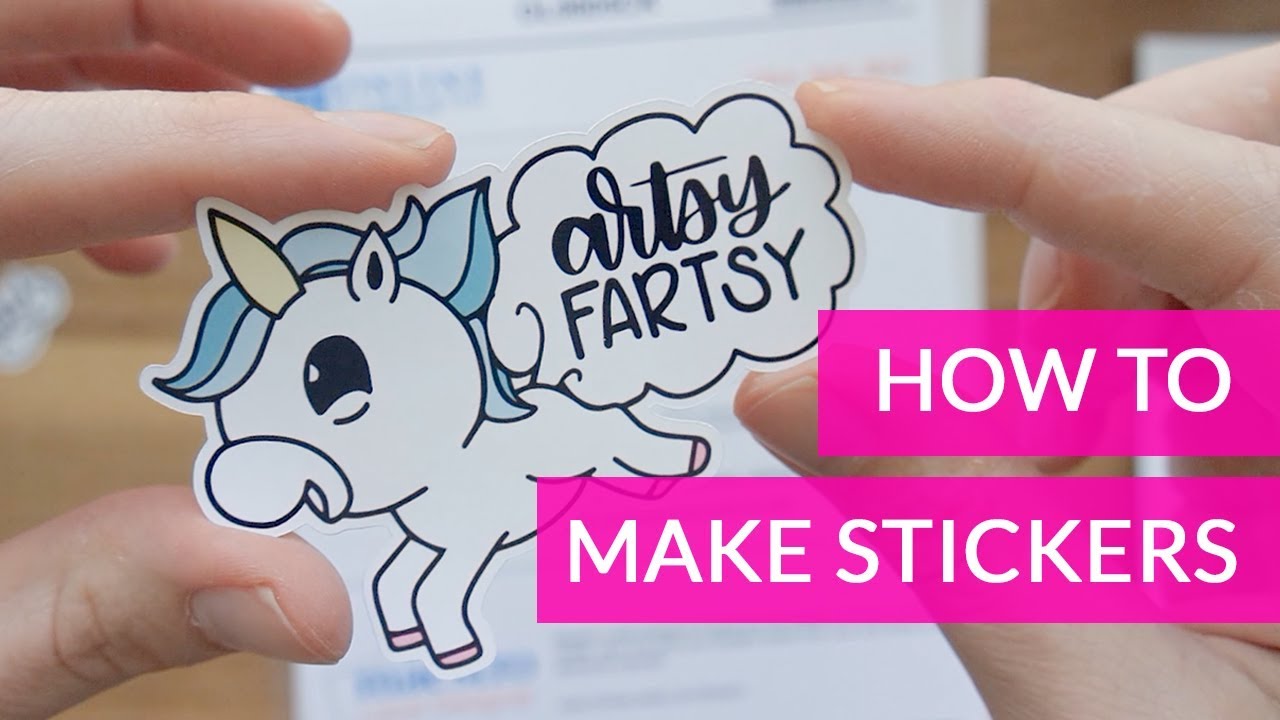
How To Make Stickers With Cricut Super Quick Easy Youtube
How To Create Personalized Stickers For Back To School Cricut
Post a Comment for "How To Cut Individual Stickers On Cricut"